Expensive-looking rooms are not always expensive. They just look that way because someone made the right choices, and most of those choices are learnable, repeatable, and far more affordable than the final result suggests. The gap between a room that looks high end and one that does not is rarely about money. It is about knowing which details actually matter and which ones are just price tags.
DIY home decor ideas on a budget that look high end are not about faking luxury. They are about understanding what makes a room feel considered and then doing those specific things with whatever you have available. Paint, fabric, hardware, and a little patience go further than most people realize, and the results last longer than anything bought on impulse from a fast furniture store.
These 23 ideas cover every room in the home. Pick the ones that fit your space first and build from there. The goal is a home that looks like it cost twice what it did, and feels like it was made specifically for you.
Paint Your Cabinets Instead of Replacing Them
Kitchen and bathroom cabinet replacements cost thousands. Painting them costs a fraction of that and delivers a result that, done properly, is genuinely indistinguishable from new. The key word is properly. This means cleaning the cabinets thoroughly, sanding them lightly, applying a good primer, and using a cabinet-specific paint in a satin or semi-gloss finish.
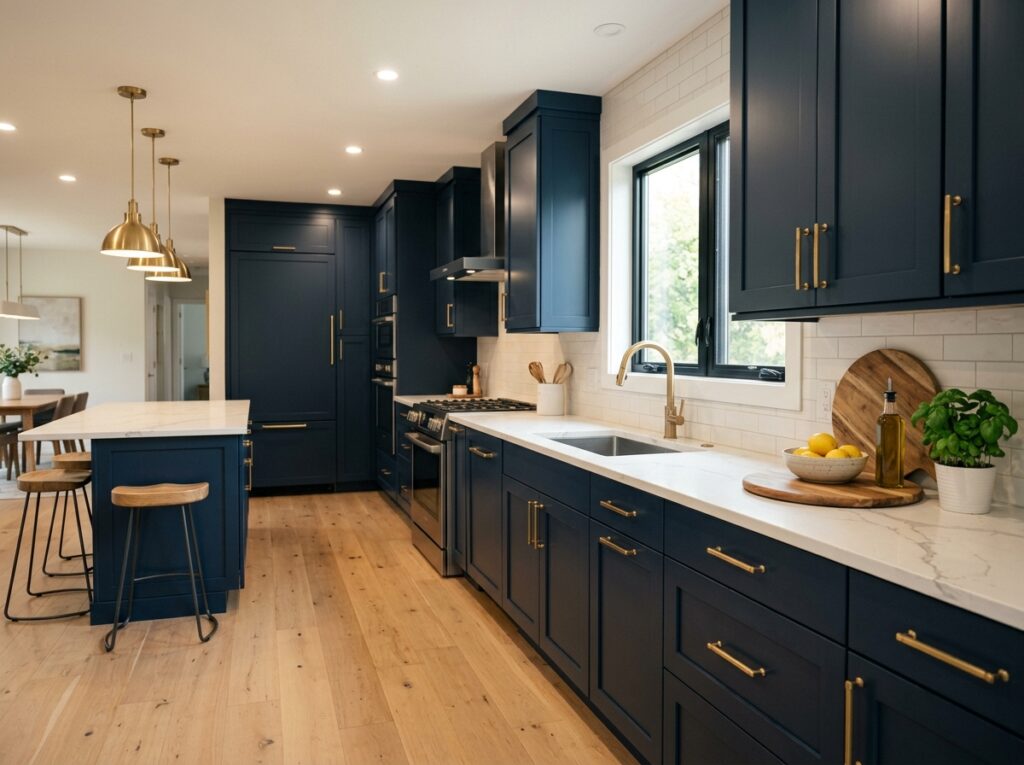
Deep navy, warm white, sage green, and charcoal are all colors that read high end on kitchen cabinets. Remove the doors before painting, paint them flat on a surface rather than hanging, and replace the hardware at the same time. New hardware on freshly painted cabinets is one of the most dramatic DIY home decor transformations you can do on a budget, and the total cost rarely exceeds one hundred dollars for an average kitchen.
Upgrade Every Handle and Knob in Your Home
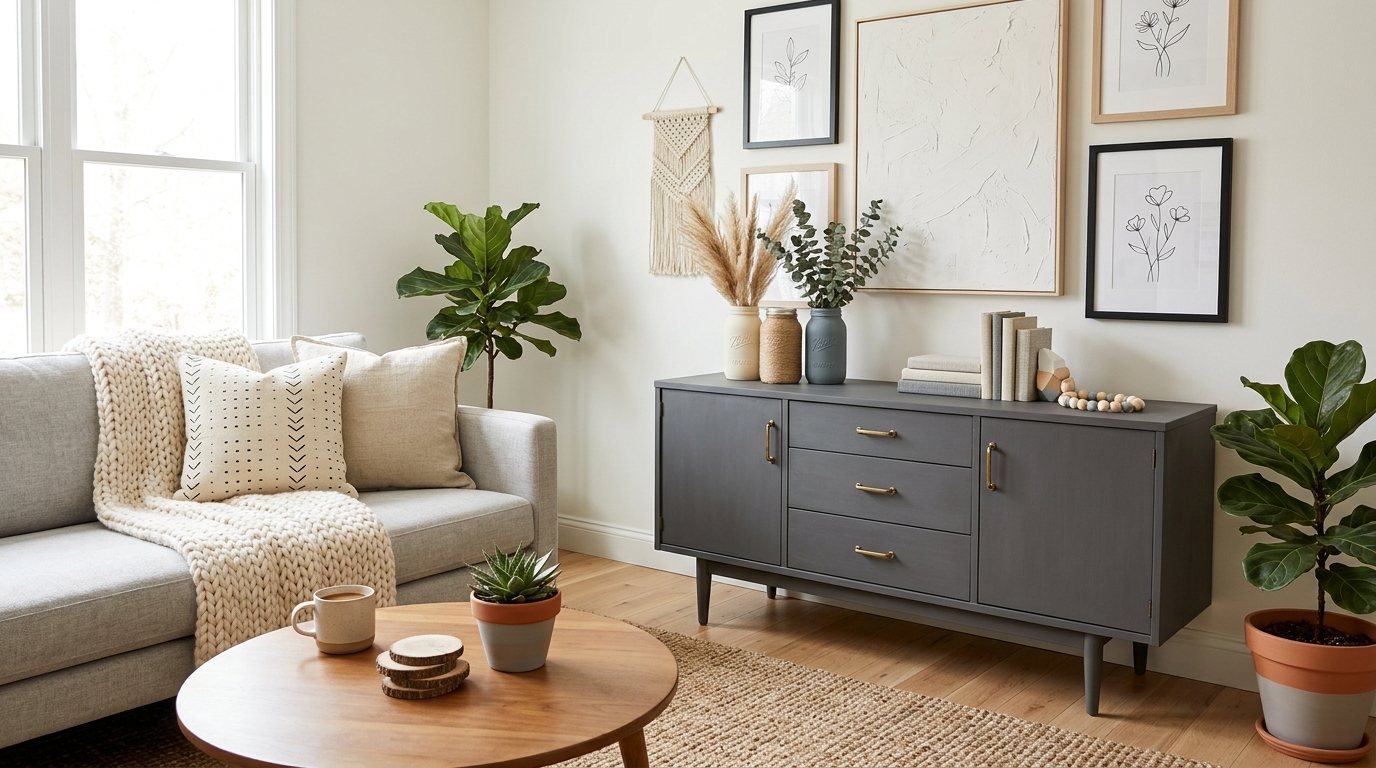
Hardware is the jewelry of a room. Old brass knobs that have lost their finish, mismatched handles across different pieces of furniture, and plastic hardware that came standard with a rental apartment all quietly drag down the feeling of a space in ways that are hard to identify but easy to feel. Replacing every handle and knob in a room with a cohesive set takes an afternoon and costs very little per piece.
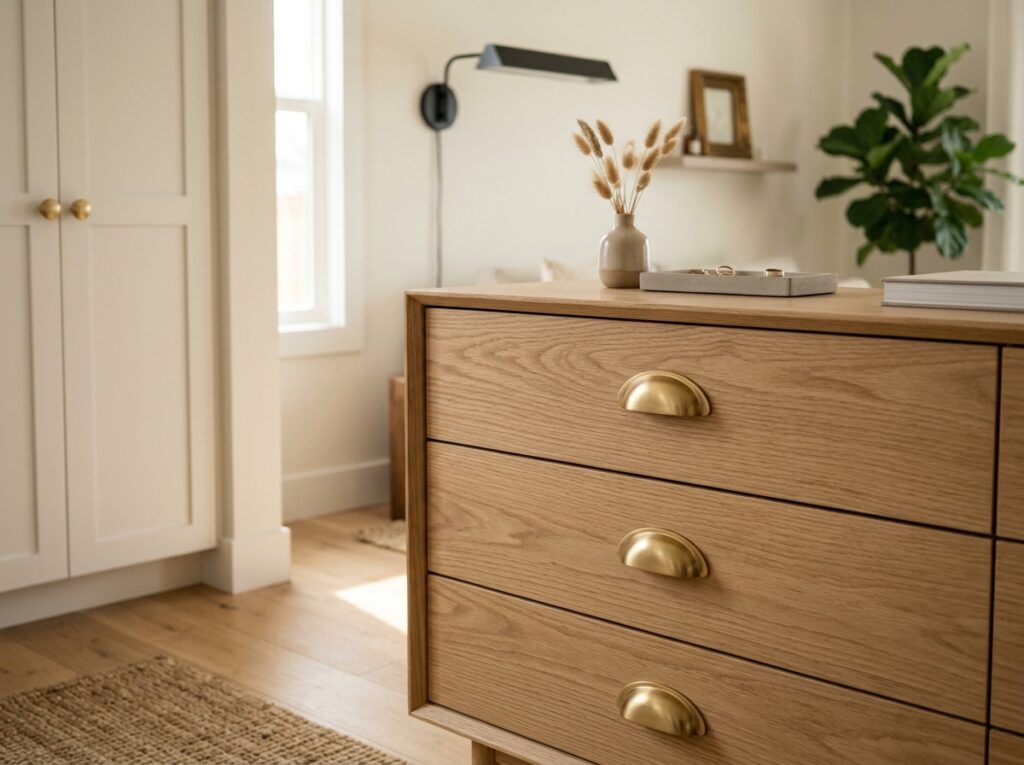
Brushed brass, matte black, and antique bronze are the three finishes that consistently read high end across different home styles. Buy one finish and use it throughout the home for a pulled-together look that makes everything feel intentional. A set of brushed brass cup pulls on a plain dresser transforms it from generic to deliberately designed without changing a single other thing about the piece.
Make Your Own Linen Curtains
Store-bought curtains in quality linen cost a significant amount. A length of linen fabric from a fabric store, a sewing machine, and a few hours of time produces the same result for a fraction of the price. Even without sewing skills, iron-on hem tape allows you to create clean floor-length panels that look expensive and feel substantial.
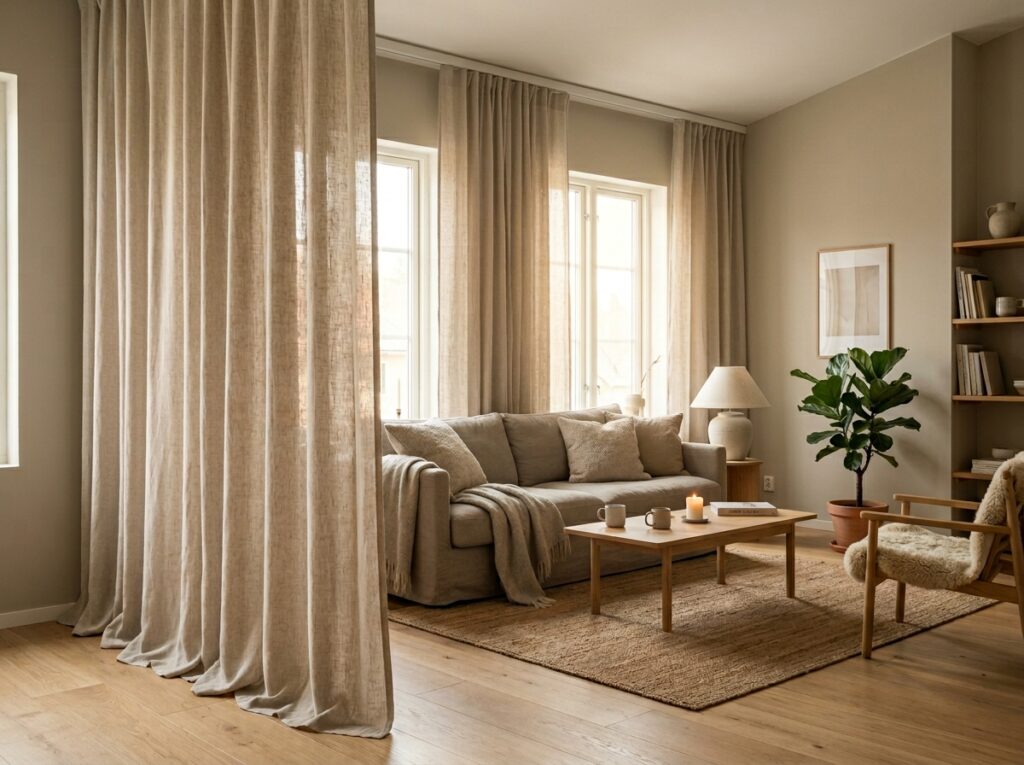
The most important detail with DIY curtains is the length. They should graze the floor or pool very slightly. Curtains that hang above the floor look cheap regardless of the fabric. Cut generously, hem carefully, and hang the rod as close to the ceiling as possible. DIY home decor does not get much more impactful than a set of proper linen curtains hung well.
Create a Gallery Wall With Thrifted Frames
A gallery wall of cohesive frames filled with art that means something creates a focal point in any room that looks genuinely considered and expensive. The frames do not need to match when they come from the thrift store. They need to match after you spray paint them. One color, one finish, applied to every frame in the collection, and the wall goes from eclectic to intentionally curated.
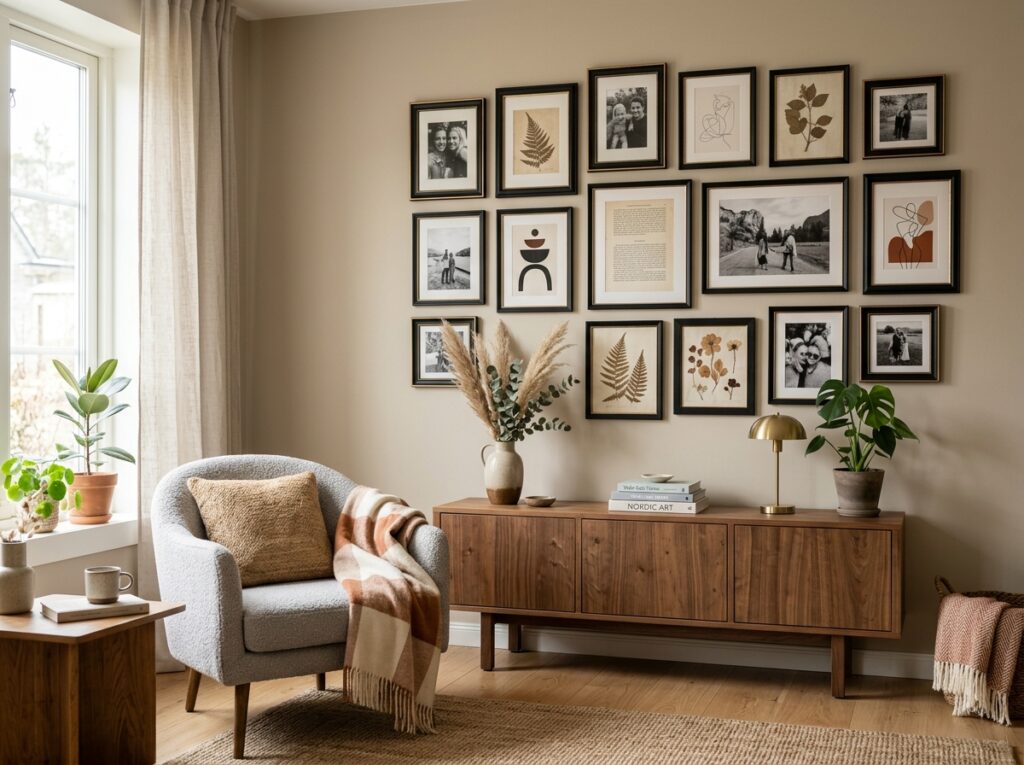
Choose matte black, warm gold, or warm white for the frames. Fill them with a combination of your own photographs, downloadable art prints in a consistent color palette, pages from old books or magazines, and pressed botanicals. The content of the frames matters less than the cohesion of the frames themselves. A gallery wall that looks expensive is almost always one where the frames were unified by color.
Limewash or Texture a Single Wall
Limewash paint creates a layered, aged plaster effect that costs very little to apply and looks like something from an Italian villa. It is one of the most requested finishes in high-end interior design right now and it is genuinely achievable as a DIY project on a weekend afternoon with a wide brush and some patience.
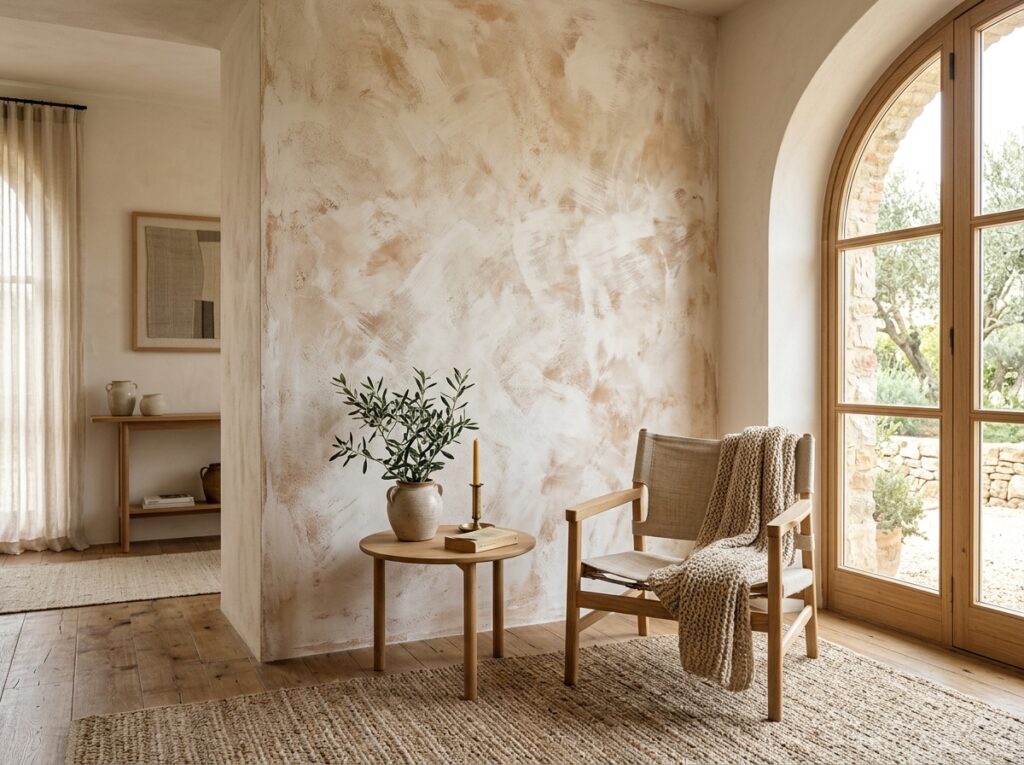
Apply limewash in layers, using a dry brush technique that leaves some of the base color visible beneath the top coat. The imperfection is the point. A limewash wall looks expensive because it looks like it took skill and time, and once you understand the technique it actually takes neither. Choose a warm white, a soft terracotta, or a warm greige for the most universally flattering results.
Build a Floating Shelf Display
Floating shelves with no visible brackets look clean, intentional, and significantly more expensive than shelves with obvious hardware. The shelves themselves can be cut from a single piece of timber at a hardware store, stained or painted to match the room, and mounted with concealed bracket hardware that is widely available and straightforward to install.
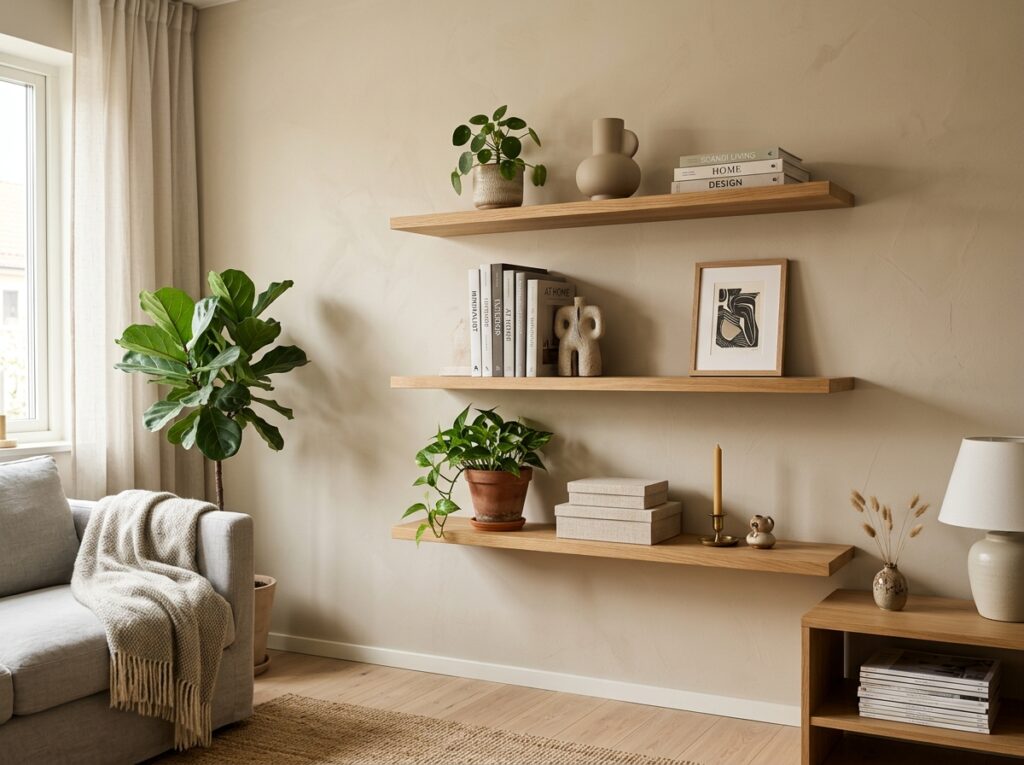
Style the shelves with a combination of books, plants, ceramics, and one or two objects that have personal meaning. Leave negative space between groupings rather than filling every inch. The negative space is what makes styled shelves look high end. Overcrowded shelves look like storage. Shelves with breathing room look like design.
Reupholster a Chair With Fabric and a Staple Gun
An ugly chair with good bones is one of the best things you can find at a thrift store or garage sale. Reupholstering a simple dining chair or an accent chair requires removing the seat pad, wrapping it in new fabric, and stapling the fabric tightly to the underside of the pad. For a basic seat cushion this takes about twenty minutes and costs whatever the fabric costs.
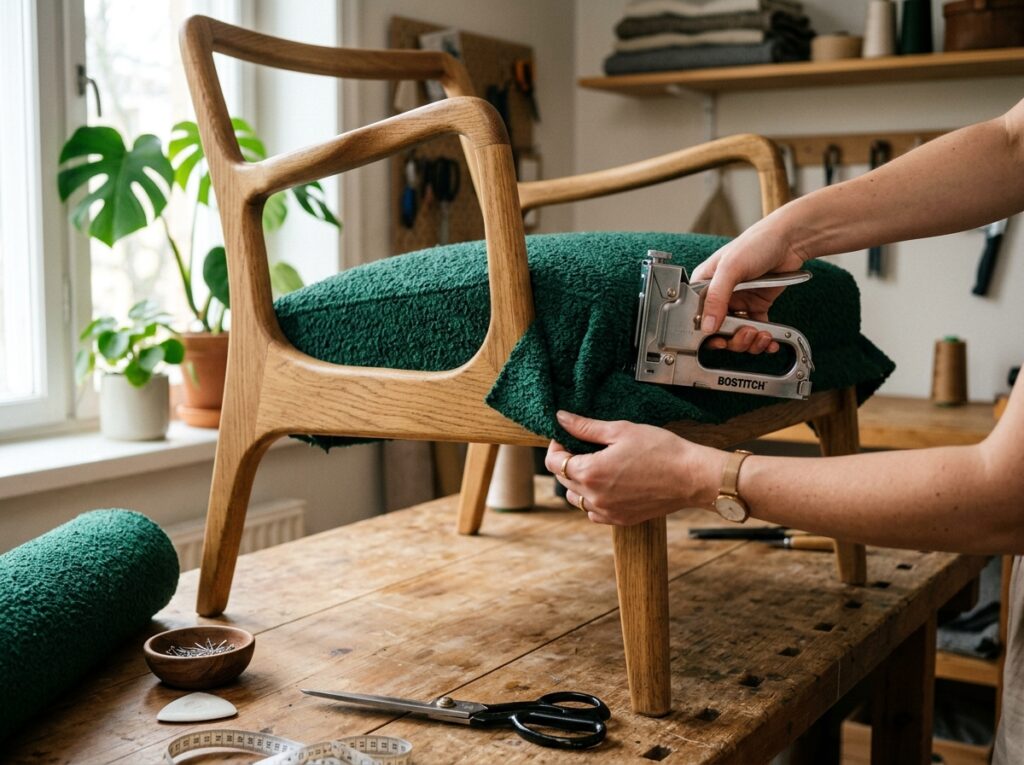
Choose a fabric that reads expensive: a textured boucle, a geometric woven, a velvet in a deep jewel tone, or a heavy linen. The fabric choice is everything in this DIY home decor project. A beautiful fabric on a basic chair shape looks intentional and considered. A cheap fabric on the same chair just looks like a cheap fabric.
Make a DIY Plaster or Concrete Effect Vase
Ceramic and concrete vases from design stores cost far more than they should. A plain terracotta pot, a glass vase, or even a recycled jar coated in a mixture of plaster of Paris and water creates the same matte, textured effect for almost nothing. Apply the plaster mixture with your hands or a palette knife for an organic, handmade texture that looks artisanal rather than homemade.
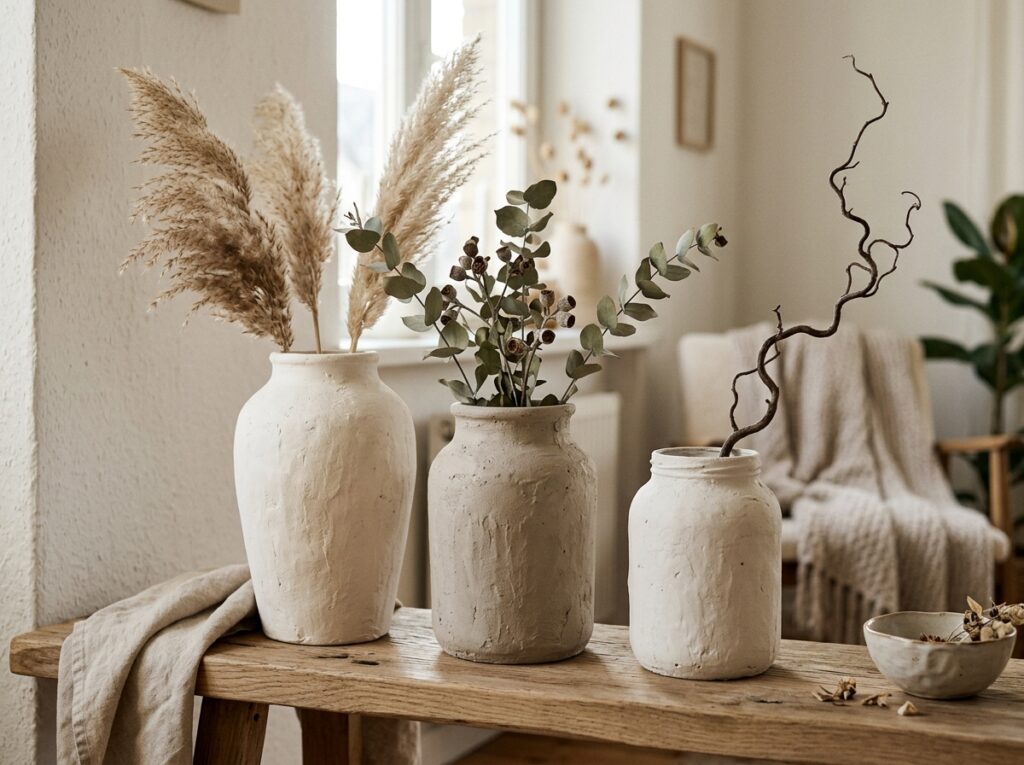
Leave the surface slightly uneven and let it dry completely before sealing it with a matte sealant. Fill it with dried pampas grass, eucalyptus stems, or a single large branch. A group of three DIY plaster vases in different heights on a shelf or a dining table looks like something from a high-end homeware store and costs almost nothing to produce.
Press and Frame Botanical Prints
Pressed botanicals in simple frames are one of the most enduringly popular elements of high-end home decor because they look delicate, intentional, and expensive. They are also completely free if you have access to any outdoor space. Pick leaves, ferns, small flowers, and grasses. Press them flat between heavy books for two weeks. Mount them on watercolor paper or a piece of cream card stock and frame them.
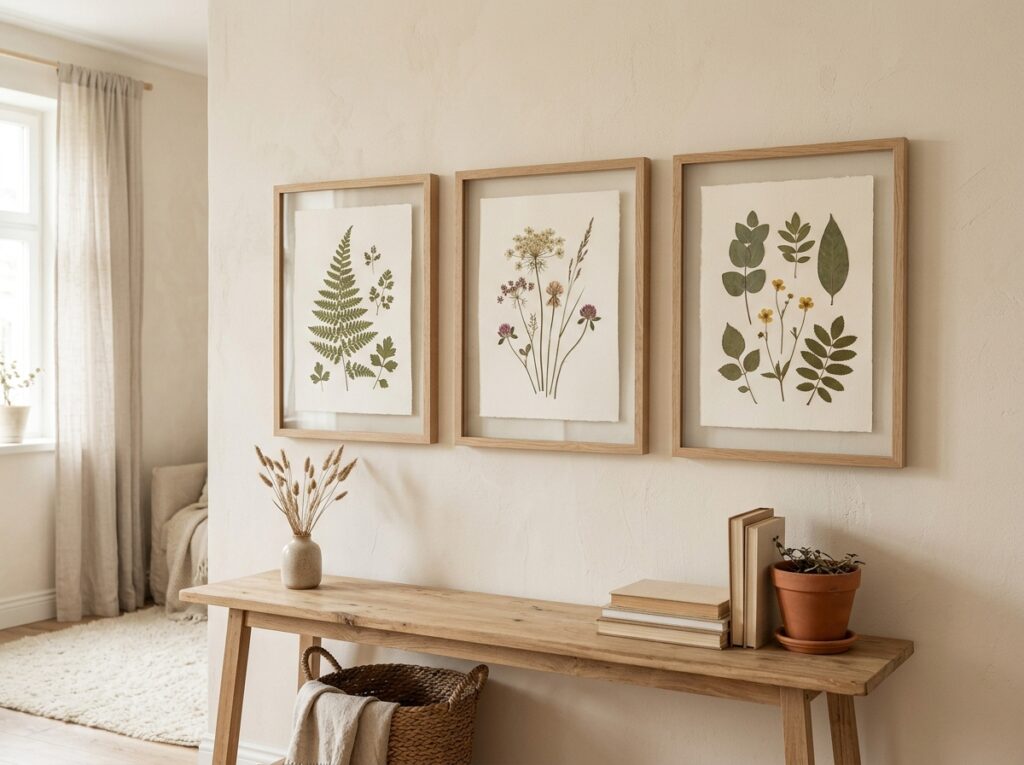
A set of three matching frames with pressed botanicals hung in a row creates a cohesive wall moment that looks like curated art. Choose frames in a consistent finish and mount each botanical slightly off-center on the paper for a more organic, less clinical composition. This is one of those DIY home decor ideas on a budget that genuinely looks better than the expensive version because it is made from real plants rather than printed reproductions.
Stencil a Pattern Onto a Plain Rug
A plain jute or sisal rug is inexpensive. The same rug with a geometric or floral pattern stenciled onto it in a contrasting paint color looks custom and considered. Use a flat-bristle stencil brush and fabric paint, apply it with a nearly dry brush to prevent bleeding under the stencil edges, and seal the finished rug with a fabric sealant spray.
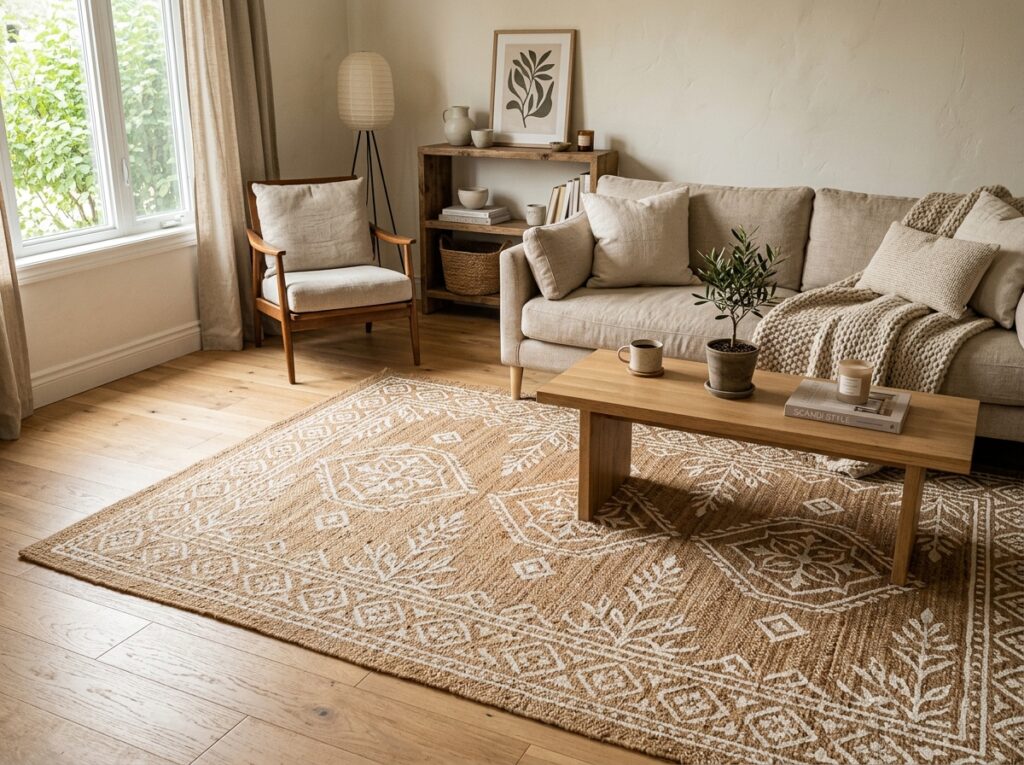
Geometric patterns, Moroccan tile shapes, and simple botanical repeats all stencil beautifully onto flat-weave rugs. Choose a paint color that already exists somewhere else in the room so the rug feels connected to the space rather than dropped into it. A stenciled rug that ties into the room’s color palette looks like it was custom ordered. That is exactly the point.
Make Candles in Vessels You Already Own
Candles in beautiful vessels cost a significant amount in homeware stores. Candle wax, wicks, and fragrance oil cost very little and allow you to make candles in any vessel you like. Old coffee mugs, ceramic bowls, glass jars, and vintage teacups all make beautiful candle vessels and the combination of the vessel and the scent creates something that feels completely personal and high end.
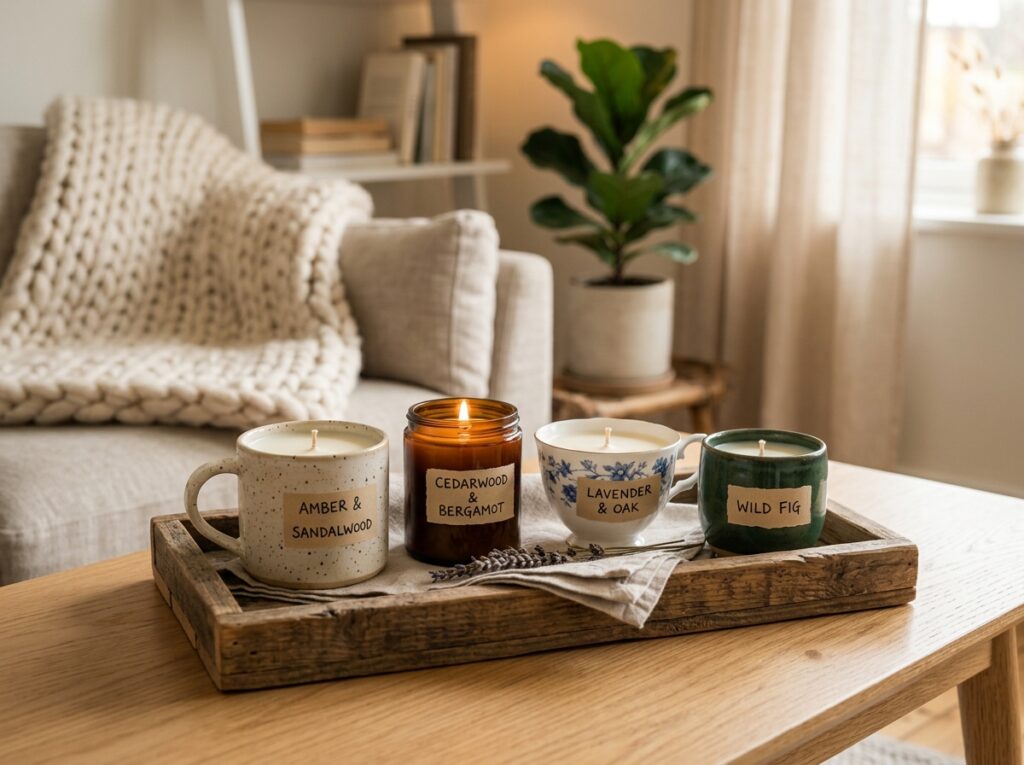
Melt the wax, add the fragrance at the right temperature, pour into the vessel, and center the wick while the wax sets. A group of three or four mismatched vessels with the same candle wax and the same scent sitting on a tray looks like a thoughtfully assembled collection rather than a set of DIY projects. The tray is what makes the difference between scattered and curated.
Apply Peel and Stick Tiles to a Backsplash
Peel and stick tiles have improved dramatically in quality over the past few years. Applied to a kitchen or bathroom backsplash they create a result that is genuinely difficult to distinguish from real tile at a fraction of the cost and without any of the grouting or installation complexity. They go on in an afternoon and come off cleanly when needed.
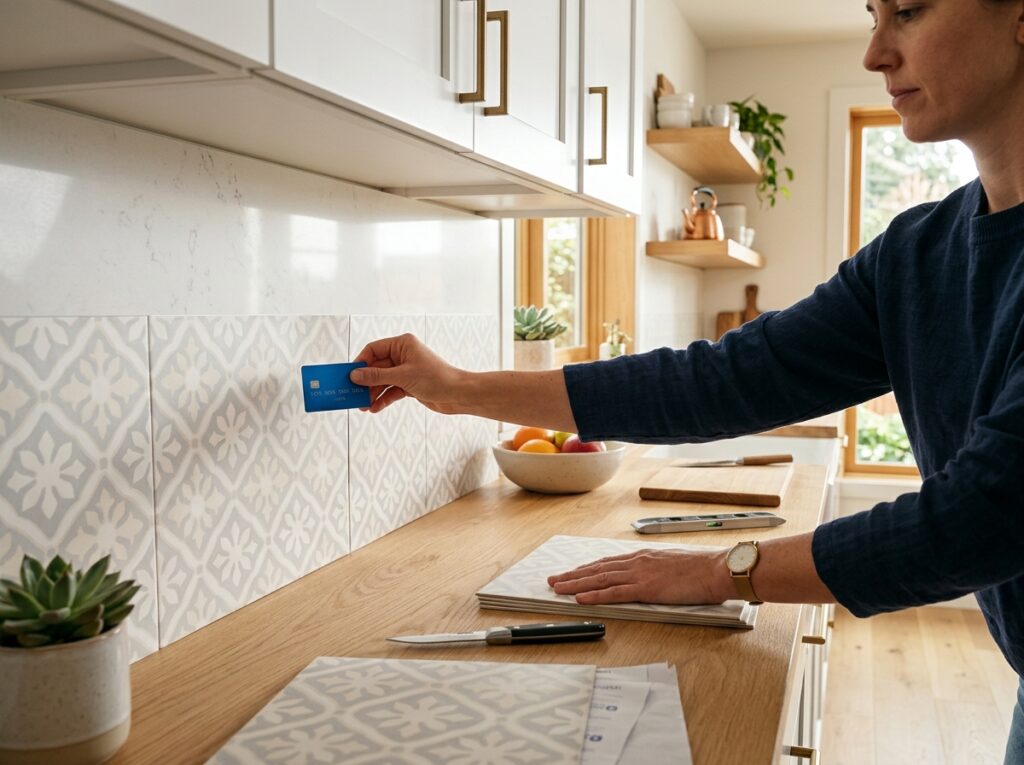
Choose a pattern that reads classic rather than trendy. White subway tile, small hexagonal mosaic, or a simple Moroccan cement tile pattern in neutral tones will look current for years rather than dating quickly. Clean the surface thoroughly before application and use a credit card to smooth out any air bubbles as you go. The edges matter most in this DIY project, so take extra time with corners and cuts.
Build a Simple Wood Arch for a Room Entrance
A wood arch framing a doorway or a section of wall is one of the most impactful architectural details in modern interior design and it is genuinely achievable with a sheet of plywood, a jigsaw, and some wood filler. Cut the arch shape from the plywood, sand it smooth, fill the edges with wood filler, sand again, and paint it in a color that contrasts with or complements the walls.
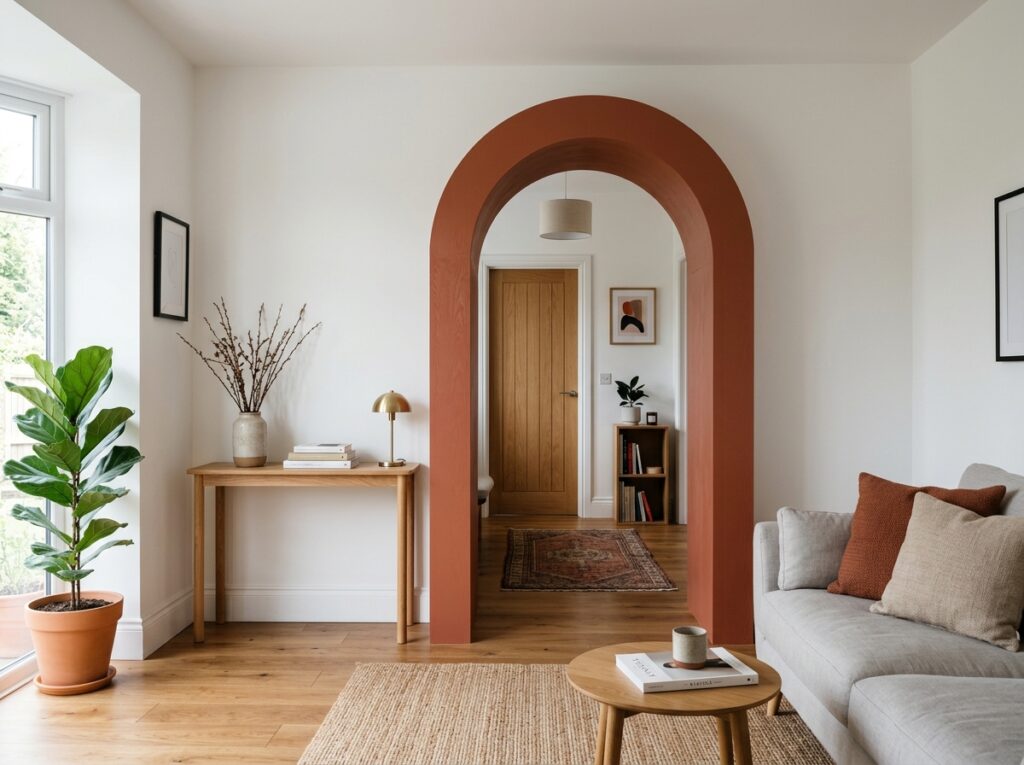
An arch painted in a warm terracotta, a deep olive, or a dusty rose against white walls creates a moment of architectural interest that looks like a significant renovation. The actual cost is the price of a sheet of plywood and a few hours of work. DIY home decor ideas on a budget rarely produce a result this dramatic for this little effort.
Dip Dye Plain Furniture Legs
Furniture with dip-dyed legs is a classic Scandinavian design detail that reads expensive and deliberate. Take any wooden furniture with straight legs, tape off the point where you want the color to start, and paint the lower section of each leg in a contrasting color. Matte black, warm brass paint, or a deep navy all work beautifully against natural wood.
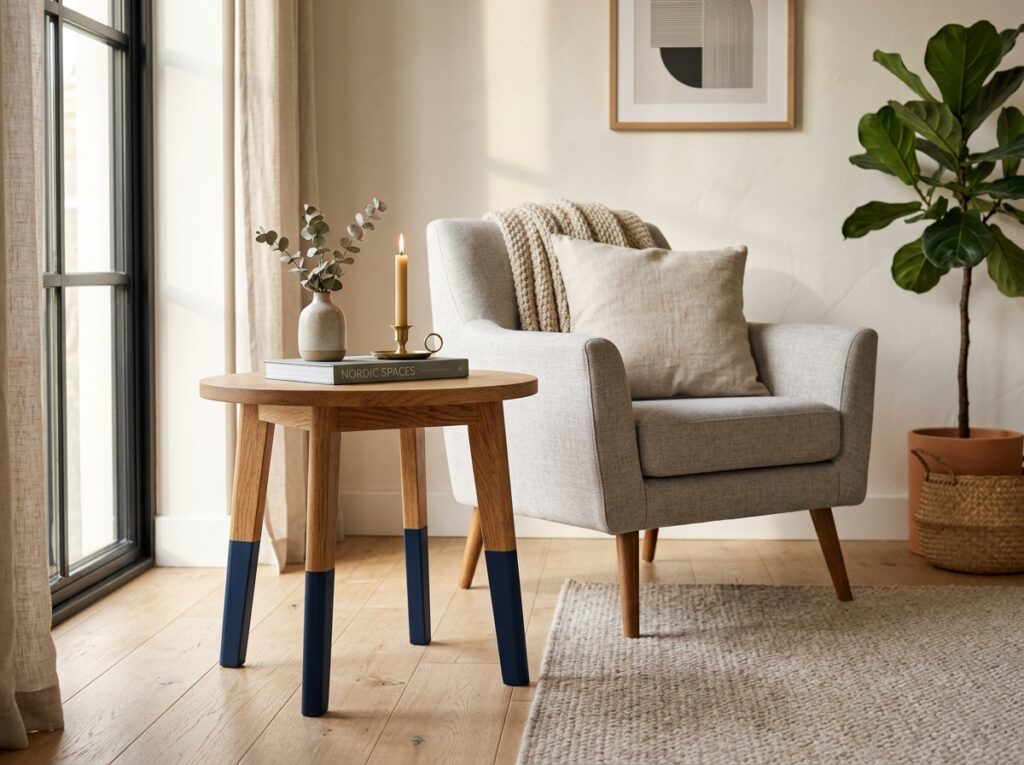
The tape line needs to be perfectly straight and at exactly the same height on every leg. Take your time with this step because the precision of the line is what makes the result look intentional rather than accidental. A plain wooden side table with matte black dip-dyed legs looks like a piece from a design furniture store. The same table with sloppy lines just looks painted.
Create a DIY Roman Blind From a Flat Sheet
Roman blinds in quality fabric are expensive. Making them from a flat sheet of fabric, curtain rings, and a dowel rod is a well-documented DIY that produces a result that looks clean, tailored, and expensive when done carefully. The fabric is the most important choice. A linen, a heavy cotton, or a quality canvas in a solid color or a simple pattern reads high end when made up into a roman blind.
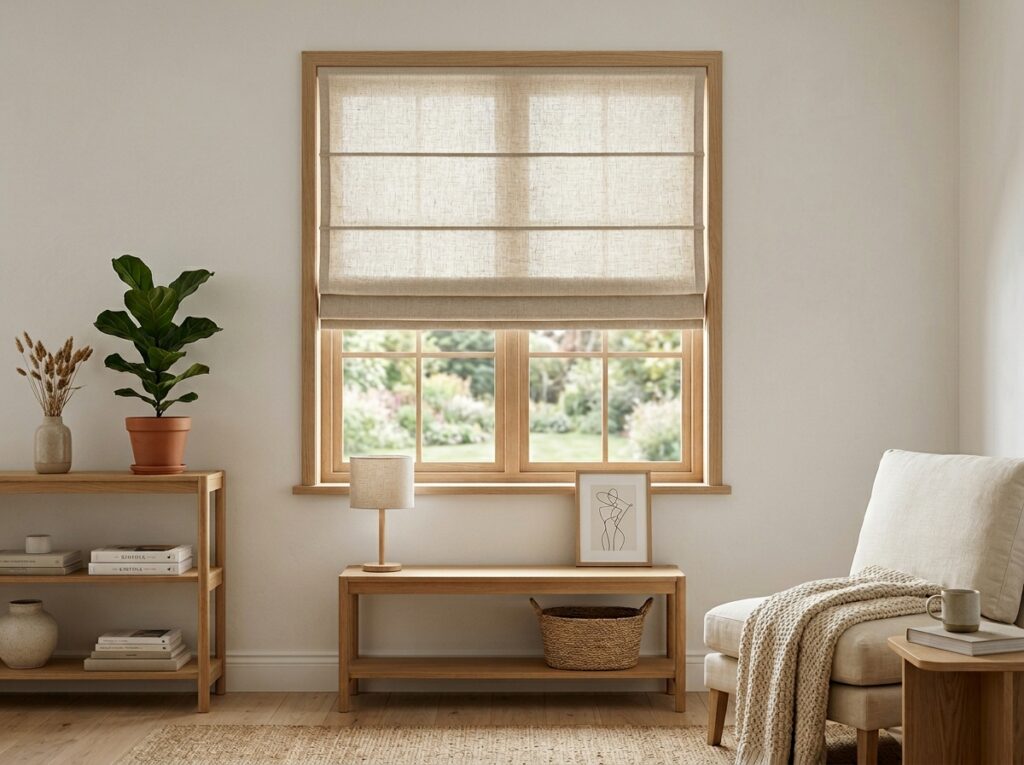
Measure carefully, sew the rings at even intervals, thread the cord through correctly, and mount the dowel at the top of the window. A DIY roman blind in a quality fabric at a well-proportioned window looks genuinely expensive. The same blind in a cheap synthetic fabric looks like a craft project. The fabric is always the deciding factor.
Paint Your Radiators to Match the Walls
Radiators are a fixture in many homes that nobody talks about as a design element but that everyone notices when they are wrong. A white radiator against a colored wall draws the eye and interrupts the visual flow of the room. Painting your radiator in a heat-resistant paint that matches the wall color makes it disappear and the room suddenly feels more considered and cohesive.
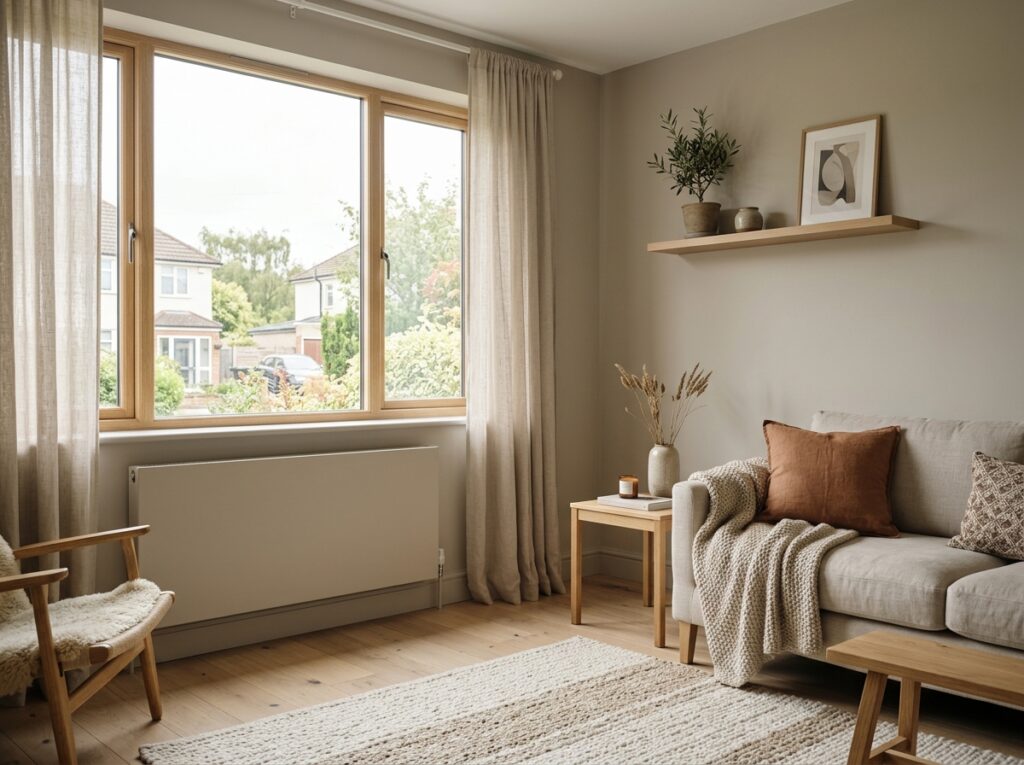
Use a radiator-specific paint that can withstand the heat cycles without cracking or discoloring. Apply it when the radiator is cold and ventilate the room well when the radiator first heats up after painting. This small change costs very little and makes a measurable difference to how finished and intentional the room feels.
Make a Woven Wall Hanging
Woven wall hangings in natural fibers are a consistent feature of high-end interior design and they are one of the most approachable fiber arts to learn. A wooden dowel, some cotton macrame cord, and a few hours produces a piece that looks handmade in the best possible sense, textured, warm, and specific in a way that mass-produced art never quite manages.
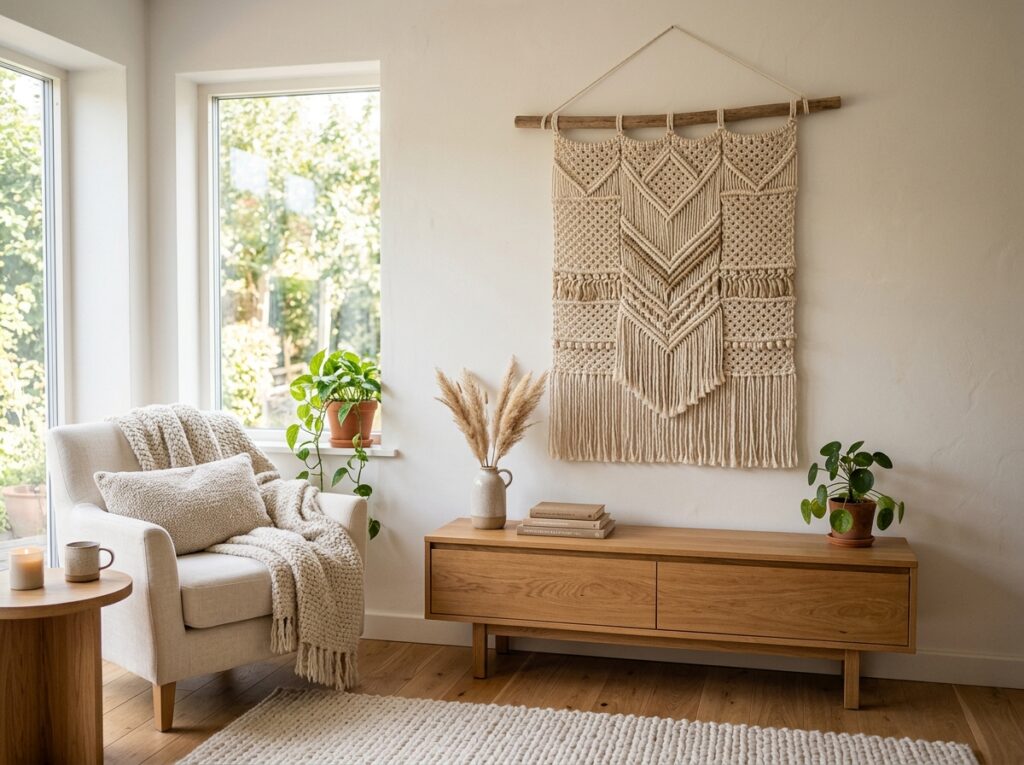
There are dozens of beginner-friendly weaving and macrame techniques available to learn. Start with a simple pattern and focus on keeping the tension even throughout. A DIY home decor piece made with your own hands, even an imperfect one, always carries a quality of presence in a room that purchased art struggles to match.
Stain or Limewash Old Wooden Furniture
Dark, dated wooden furniture from thrift stores and old family pieces can be completely transformed with a light sanding and a new stain or a limewash treatment. Limewashing wooden furniture lightens the grain and creates a Scandinavian, coastal, or farmhouse effect depending on the context. A darker walnut or ebony stain on the same piece creates something that looks mid-century and expensive.
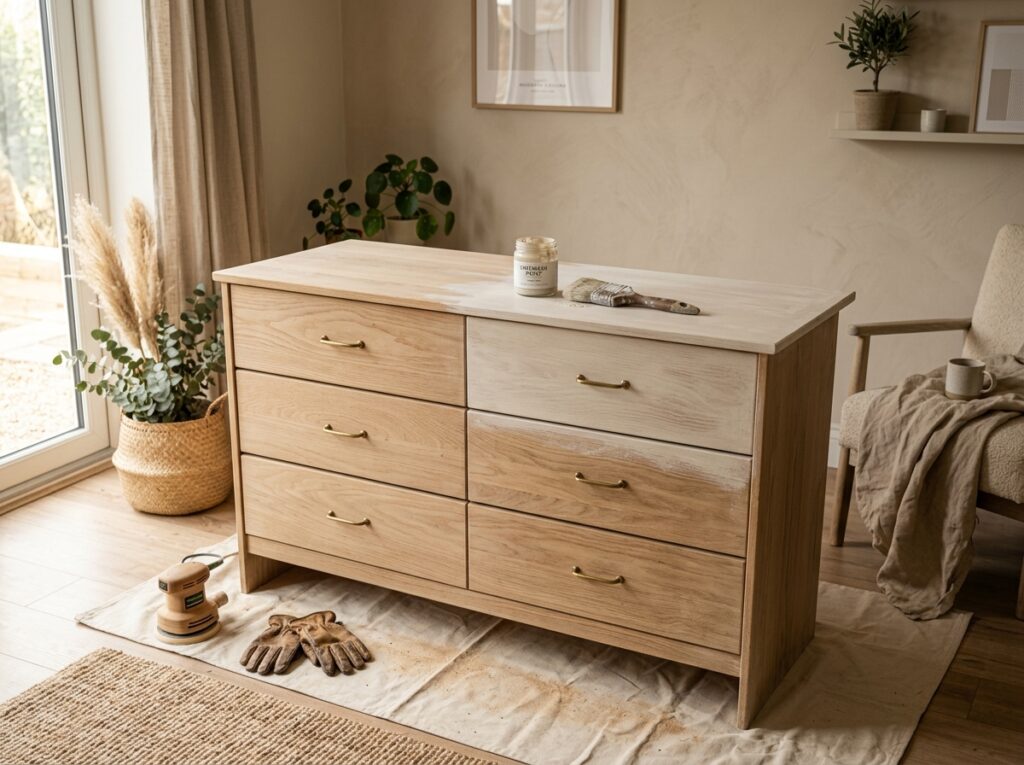
The transformation requires patience rather than skill. Sand with the grain, wipe away all the dust, apply the stain or limewash evenly, and seal with a matte or satin finish. A limewashed oak dresser from a thrift store looks like something from a high-end furniture boutique for a total cost of under thirty dollars in materials.
Add Architectural Detail With Peel and Stick Moulding
Wall moulding creates the kind of architectural detail that is usually associated with expensive older homes or significant renovations. Peel and stick moulding strips allow you to create the same paneling effect, picture rail effect, or board and batten effect without any tools beyond a level and a measuring tape.
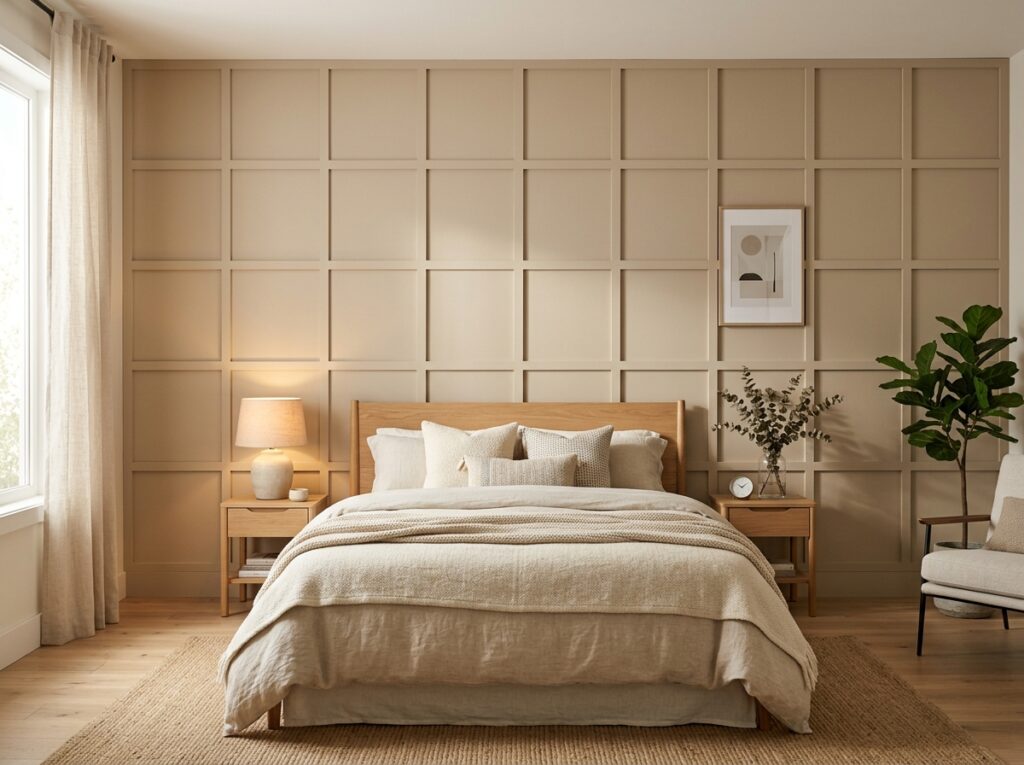
Apply the strips in a grid pattern on a wall to create classic wall paneling, paint the whole wall including the moulding in a single color, and the result looks like it cost thousands and took weeks. It costs a fraction of that and takes a weekend. A paneled wall behind a bed or sofa is one of those DIY home decor ideas on a budget that genuinely changes the architectural character of a room.
Make Your Own Abstract Art
Original art on a large canvas looks expensive because it is expensive to buy. Making it is free beyond the cost of canvas and paint. Large-scale abstract paintings in a palette that works with your room are completely achievable without any formal art training. The key is working with a limited palette, three or four colors maximum, and applying them with intention rather than randomly.
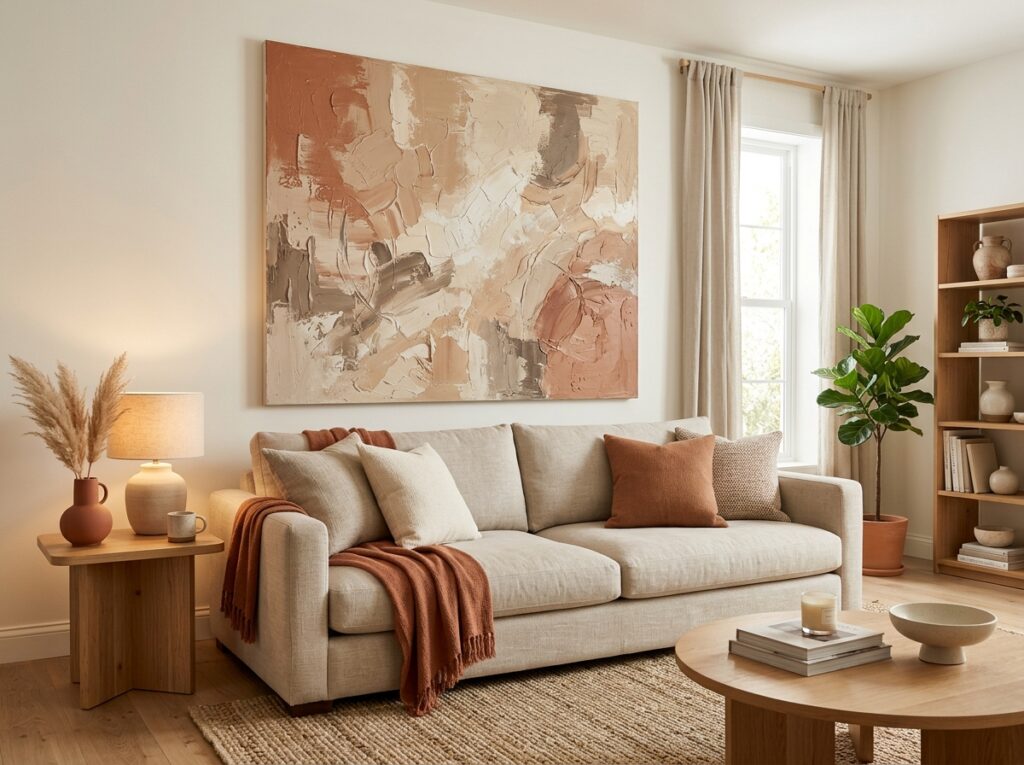
Choose a palette pulled from colors already in the room. Apply the paint in layers, letting each layer dry before adding the next. Use a palette knife rather than a brush for a more textural, contemporary result. A large canvas in the right colors hung above a sofa or a bed holds the room together in a way that makes everything else look more considered.
Style Every Surface With a Tray
This costs almost nothing and changes the feeling of every surface in the home. A collection of objects on a coffee table without a tray looks scattered. The same objects on a tray look curated. A tray creates a boundary that tells the eye this grouping is intentional and everything inside it belongs together.
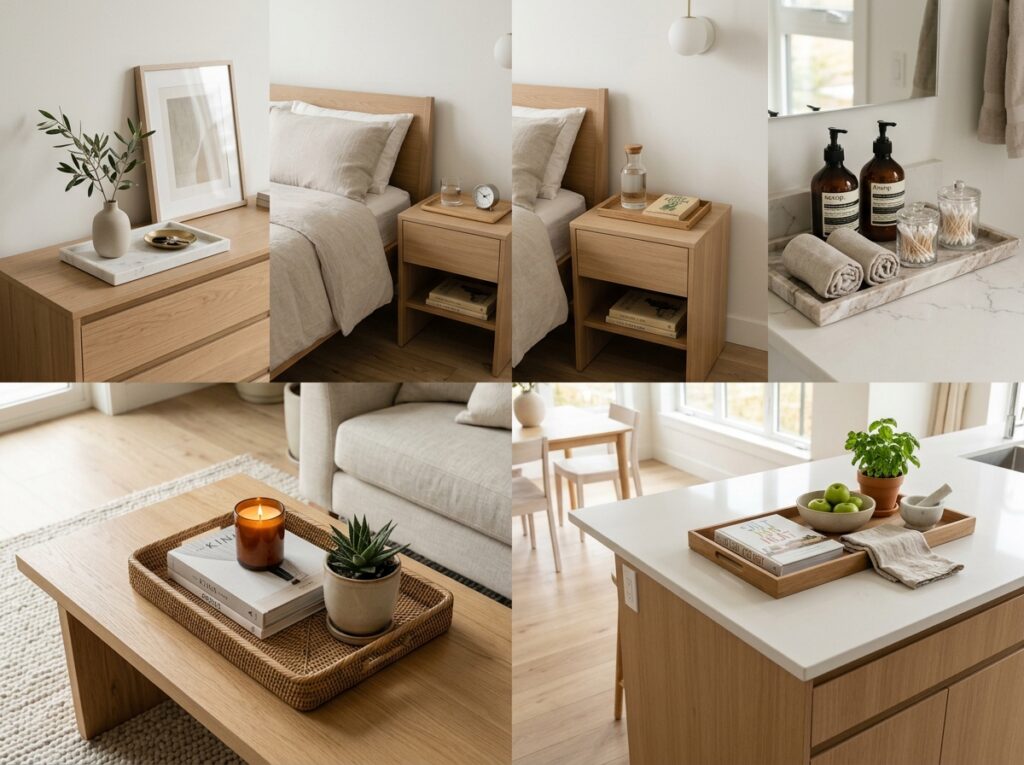
Use trays on the coffee table, the dresser, the bathroom counter, the kitchen island, and the bedside table. Wood trays, rattan trays, and marble trays all work in different contexts. The tray does not need to be expensive. It needs to be the right size for the surface and the right material for the room. This single habit, applied consistently throughout the home, is one of the most effective DIY home decor ideas on a budget because it costs almost nothing and makes an immediate difference everywhere it is used.
Final Thoughts
A home that looks high end is built from decisions, not dollars. Every idea in this list is achievable on a real budget with time, attention, and a willingness to learn one new skill or try one new technique. DIY home decor ideas on a budget work best when you approach them with patience rather than speed, because the quality of the result is always in the details.
Start with one room and one idea. Finish it properly before moving to the next. A home improved one careful decision at a time always looks more considered than one decorated all at once with whatever was affordable and available. That consideration is exactly what high end looks like.